
Citrix XenApp/XenDesktop 7.13 Upgrade Provisioning Services
Citrix XenApp and XenDesktop can be upgraded, but must be done in a particular order to avoid downtime.
Prepare - run site checks, backup databases, check Subscription Advantage date, close apps and console and check permissions.
Upgrade License server
Upgrade StoreFront
Upgrade Director
Upgrade Provisioning Services servers and Target Device software
Upgrade half the Delivery Controllers
Upgrade Studio
Upgrade XenApp/XenDesktop databases
Upgrade remaining Delivery Controllers
Upgrade Virtual Delivery Agents (VDA)
Update machine catalog and delivery groups
The following article goes through the steps of upgrading the Citrix Provisioning Services component. It is a very straight forward process. You need to upgrade the first server and the database and then upgrade the remaining Provisioning Servers.

Before starting the upgrade process create a self-signed root certificate. You can use the New-SelfSignedCertificate PowerShell command to generate one.

Insert the Citrix Provisioning Services 7.13 installation media and click on Console Installation to start the upgrade.

Click Install.

Click Next.

Select I accept the terms in the license agreement and click Next.

Leave the options on default and click Next.

Click Next.

Click Install.

Click Finish.

Click on Server Installation to begin the server component upgrade.

Click Install.

Click Next.

Select I accept the terms in the license agreement and click Next.

Leave the options on default and click Next.

Click Next.

Click Install.
Click Finish.

The Provisioning Services Configuration Wizard will start automatically once the software has been upgraded and will perform the database upgrade. Click Next.

Leave the defaults and click Next.

Leave on the defaults and click Next.

Leave Farm is already configured selected and click Next.

Leave on defaults and click Next.

Enter the password for the Provisioning Services user account and click Next.

Leave on defaults and click Next.

Make sure the correct NIC's are selected for streaming and management, if you have multiple NIC's attached to the server and click Next.

Leave the defaults and click Next.

Click Advanced.

Select Verbose mode and click OK.
Click Next.
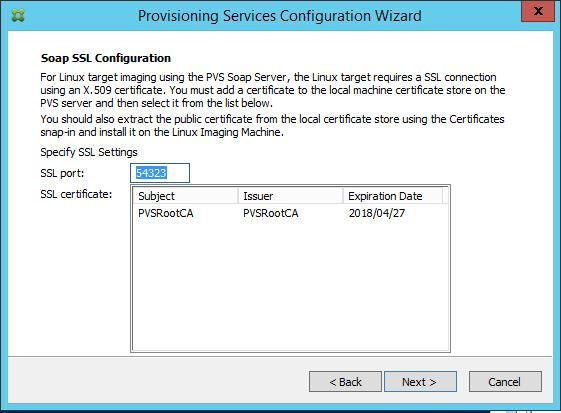
Select the self-signed root certificate from the list and click Next.
Click Next.
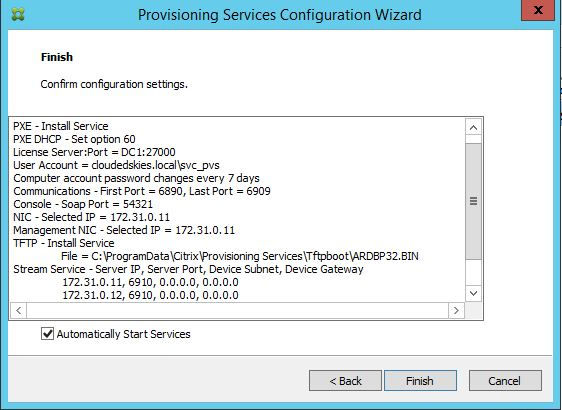
Leave Automatically Start Services selected and click Next.
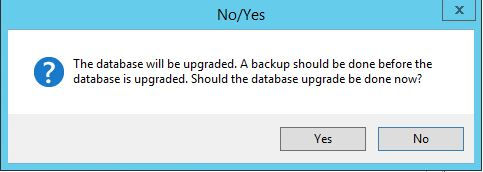
Click Yes to start the database upgrade.

Click Done.

The upgrade should now be complete on the first servers. The upgrade can now be performed on the other Provisioning Servers.


