Citrix Provisioning Services 7.9 Installation
- Aug 16, 2016
- 3 min read
This article goes through the steps of installing Citrix Provisioning Services 7.9, creating a farm and joining a second server to the existing farm. Provisioning Services allows multiple machines to be booted from a single image over the network using PXE boot and Citrix's own disk streaming technology.

Insert the Citrix Provisioning Services 7.9 media, once the autorun starts click on Console Installation to install the management console.

Click Install.

Click Next.

Accept the license agreement and click Next.

Click Next.

Click Next.

Click Install.

Click Finish.

Click Server Installation.

Click Install.

Click Yes.

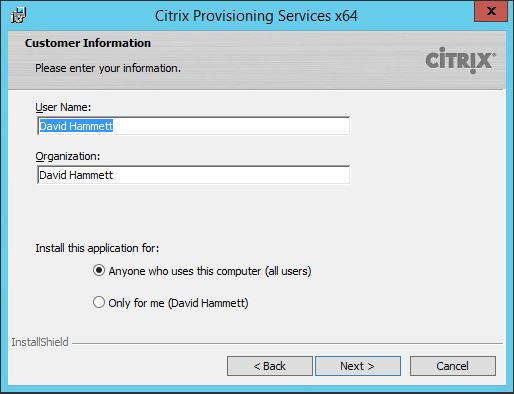
Click Next.

Accept the license agreement and click Next.

Click Next.

Click Next.

Click Install.

Click Finish.

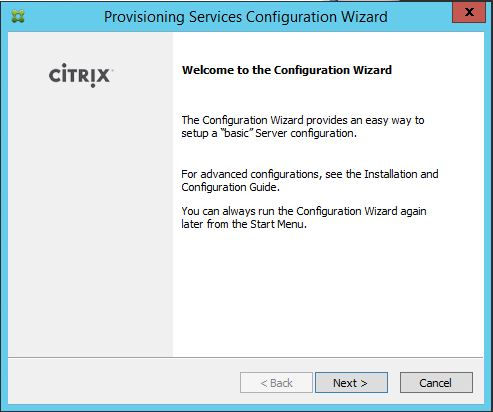
The Provisioning Services Configuration Wizard will automatically start once installation has completed. Click Next.

Select the service that will provide DHCP in this case its Microsoft DHCP installed on the Provisioning Server itself. Click Next.

Provisioning Services PXE service will be used to PXE boot the VM's. Selecting this option will configure DHCP option 60 on the DHCP server. Click Next.

Leave Create farm selected and click Next.

Enter the SQL Server connection details and click Next.

Enter the Database name, Farm name, Site name and Collection name and select an Active Directory group that will have full administrator access to the farm. Click Next.

Enter the Store name and path in Default path (path can be a folder on a locally attached hard disk or a UNC path to a network share.) Click Next.

Enter the Citrix License server details and click Next.

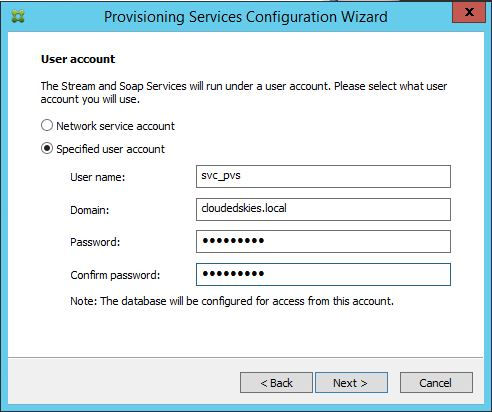
Specify the AD service account details that will used to run certain services and access the SQL database. The service account needs to be granted db_owner access to the database manually after set-up has created it. Once done click Next.

Leave Automate computer account password updates selected to allow Provisioning Services to control the AD machine account passwords for the virtual machines that will boot from it. This is a requirement to have multiple machines boot from a single image because that one image stores the original master image AD machine account details. Provisioning Services has to substitue this with each individual AD machine account for the virtual machines that boot from it and therefore needs to know each AD machine account password.
Days between password updates can be left on 7, increased or decreased depending upon how often you want it to change the password for the machine accounts. Click Next.

Selected the NIC that will be used for streaming the virtual disks over the network and one used for management. In this case I only have a single NIC so both roles will be assigned to the same IP address. Leave the ports as default and click Next.

Select Use the Provisioning Services TFTP service and leave the default path to the PXE boot image and click Next.

There will be two servers in the farm, so click on Add to configure the second server even though at this stage we have not installed it yet.

Enter the IP address, leave everything else as is and click OK.

Click Advanced.

Select Verbose mode and click OK. Verbose mode displays more information during the BIOS network boot process, which helps to diagnose issues.

Click Next.

Review the summary and click Finish.

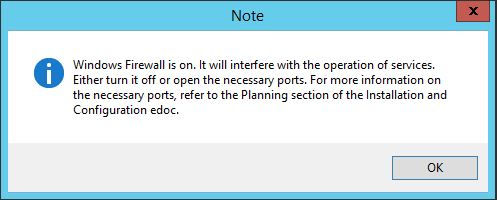
If the Windows Firewall is still enabled you will get this message, click OK and once the configuration is complete disable the Windows Firewall to stop it from interfering with Provisioning Services.

Click Done.

Repeat the Provisioning Services installation on the second server and this will launch the Provisioning Services Configuration Wizard. Click Next.

Select the same option selected on the first server in this case Microsoft DHCP and click Next.

Select Provisioning Services PXE service same as on the first server and click Next.

Select Join existing farm and click Next.

Enter the SQL Server connection details for the existing farm database and click Next.

Select the database name and farm name in the Farm name drop-down box and click Next.

Select the existing site and click Next.

Select the existing store and click Next.

The Citrix License server details should default to the ones entered on the first Provisioning Server and click Next.

Enter the same AD service account credentials as the first server and click Next.

Leave Automate computer account password updates selected, set Days between password updates to the same as the first server and click Next.

Select the NIC(s) used for streaming and management and click Next.

Select Use the Provisioning Services TFTP service and click Next.

Click Add.

Enter the second server's IP address and click OK.

Select the IP address for the second server in the list and click Move up to move it to the top of the list and click Advanced.

Select Verbose mode and click OK.

Click Finish.

Remember to disable Windows Firewall and click OK.

Click Done.

Launch the Citrix Provisioning Services Console, enter the server name and click OK to log on to the console. You should see the farm appear in the console. If you expand it and click on Servers both servers should appear in the list.


Comments