Citrix XenApp/XenDesktop 7.9 StoreFront Configuration
Citrix StoreFront sits between the client machines and XenApp/XenDesktop delivery controllers. StoreFront queries the delivery controllers for the desktops and applications that have been published on XenApp/XenDesktop and presents them back to the user. The user can then launch the desktops and applications using the Citrix Receiver or a web browser. This article goes through the steps of configuring StoreFront...

The first step is to create an SSL certificate on StoreFront. An SSL certificate is recommended because by default Citrix Receiver refuses to communicate with StoreFront that uses http. In order to get it to work you have to put in a number of registry hacks, so its easier to start with SSL in the first place. Open up MMC.

Click File > Add/Remove Snap-in...

Select Certificates and click Add.

Select Computer account and click Next.
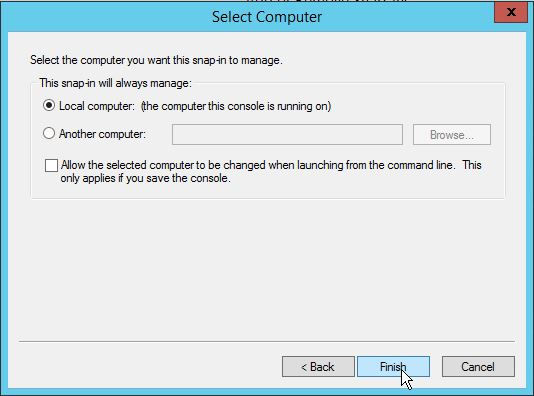
Leave Local computer selected and click Finish.

Click OK.

Expand Certificates > Personal > Certificates.

Right click on Certificates and click All Tasks > Request New Certificate...

Click Next.
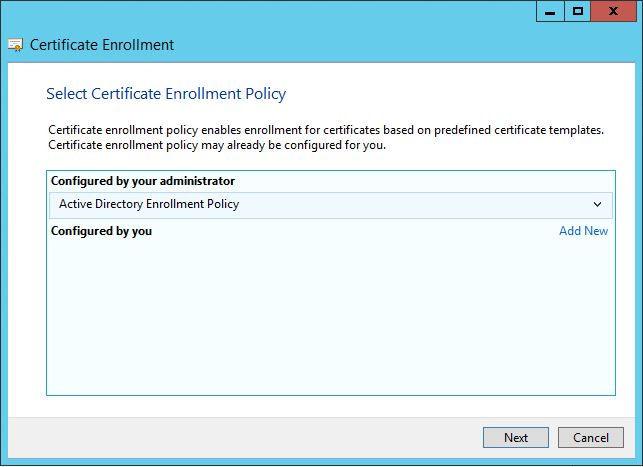
Leave Active Directory Enrollment Policy selected and click Next.

In my case I have a Certificate Template called Server that has been created to request Subject Alternative Names (SAN) certificates. I want to add the FQDN of the server and the FQDN that will be shared between both StoreFront servers. Select Server and click on the down arrow next to Details.

Click Properties.

Under Subject name, select Common name in the Type drop-down box, type the FQDN of the StoreFront server in the Value box and click Add.

In Alternative name, in Type select DNS from the list, enter the FQDN of the StoreFront server and click Add.

In Alternative name repeat the step and add the FQDN that will be shared between StoreFront servers.

Optionally click on the General tab and enter a Friendly name for the SSL certificate. Click OK once done.
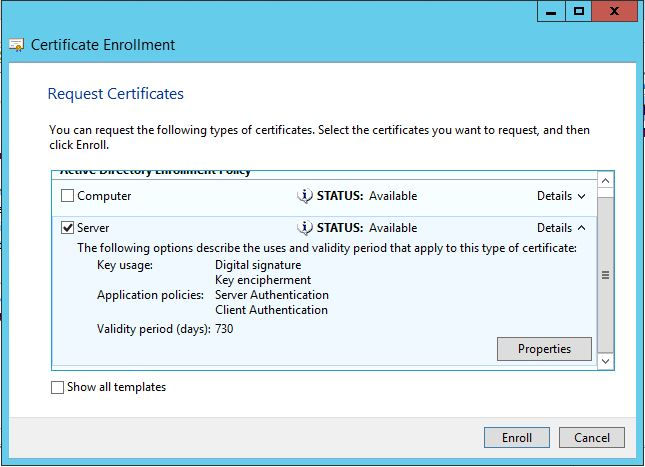
Click Enroll.

Click Finish.

The certificate should appear in the list and now close MMC.

Open the Internet Information Services (IIS) Manager.

Expand the IIS server > Sites and select Default Web Site.

Click Bindings...

Click Add...

In Type select https from the drop-down list.

Select your newly created certificate in the SSL certificate drop-down box. If you entered a friendly name this will appear in the list and click OK.

Click OK and close Internet Information Services (IIS) Manager.

Launch Citrix StoreFront management console and click Create a new deployment.

Enter the FQDN that will be shared between the StoreFront servers in Base URL and click Next.

Click Next.

Enter the Store Name and select Set this Receiver for Web site as IIS default to automatically redirect users to this store, if they go to the root of the web site. Click Next.

Click Add...

Enter Display name, leave XenDesktop (7.0 or higher) XenApp (7.5 or higher) selected and click Add...

Enter the FQDN of the delivery controller in Server name. In this case its the load balance address for the XenApp/XenDesktop delivery controllers and click OK.

Deselect Servers are load balanced as we only have a single FQDN in the list. Leave Transport type as HTTPS, alternatively you can set this to HTTP, if you have not configured SSL/TLS on the delivery controllers. Click OK.

Click Add... to enter additional XenApp/XenDesktop farms and sites, once done click Next.

To add NetScaler Gateway select Enable Remote Access and add in the appliance details. In this case we are going to leave it deselected and revisit it in another article. Click Next.

Select Domain pass-through to enable single sign-on on the Store, so the user is not prompted for their credentials instead it uses the same ones they used to log on to their physical desktop. For users that aren't using a corporate desktop they will be prompted for their credentials. If you enabled remote access then you would also enable Pass-through from NetScaler Gateway. Click Next.

Click Next.

Click Finish.
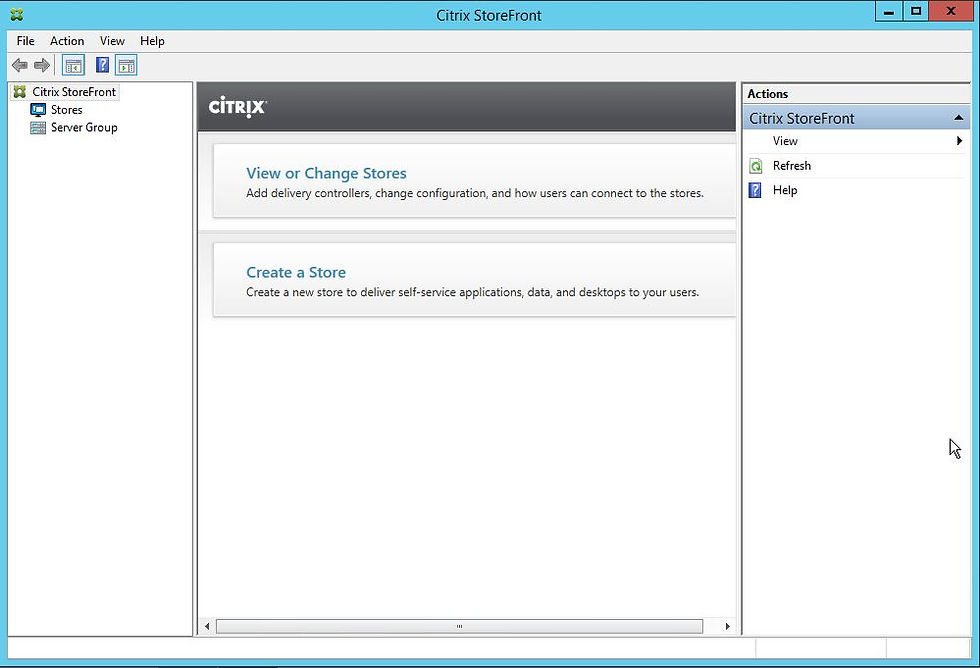
The first store should be successfully created.

Click on Stores.

Click on Manage Authentication Methods.

For User name and password in the Settings column click on the drop-down box with the cog symbol.

Click Configure Trusted Domains.

Select Trusted domains only and click Add.

Enter the Active Directory domain in Domain and click OK.
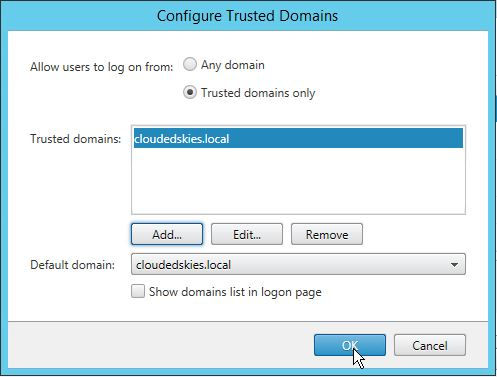
Click OK.

Select Manage Password Options.

Select Allow users to changes passwords, At any time, Use reminder from Active Directory group policy and click OK.

Click OK.

Click Manage Receiver for Web Sites.
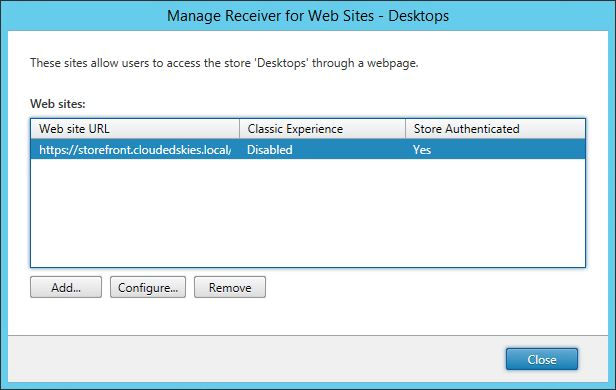
Select the web site from the list and click Configure...

Select Authentication Methods tab and click Domain pass-through to enable single sign-on for the web browser.

Click Deploy Citrix Receiver tab and select Use Receiver for HTML5 if local Receiver is unavailable in Deployment option, if you want the web browser to fallback to rendering the desktops and applications using an HTML5 web page in the event Citrix Receiver is not available on the client machine.

Click Client Interface Settings tab and in Select View select Show Desktops view only. This forces the web browser session to only show desktops and not applications that have been published.

For StoreFront servers that are load balanced and the SSL connection terminates at the load balancer, under Advanced Settings tab, select OnUsingHttp for Enable loopback communication and click OK.

Click Close.

Click Configure Store Settings.

Select Disable User Subscription to force a user to automatically subscribe to all applications assigned to the user by the administrator and click OK.

Select Server Group from the tree view and click Add Server.

Copy the Authorization code.

Log on to the second StoreFront server, make sure IIS has been configured with an SSL certificate, launch Citrix StoreFront management console and click Join existing server group.

Enter the FQDN of the first StoreFront server in Authorizing server, paste the authorisation code copied in an earlier step in Authorization code and click Join.
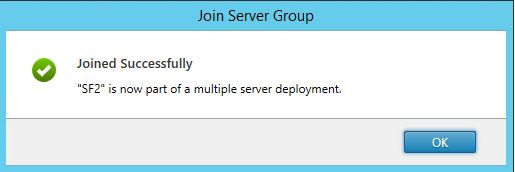
Click OK.

Close Citrix StoreFront management console and go back on to the first StoreFront server.

Click OK.

Both StoreFront servers should be displayed in the console.

Click Stores and click Create Store to add a second store that will only display applications.

Click Next.

Enter Store name and click Next.

Click Add.

Enter the same XenApp/XenDesktop connection details specified in the first store and click OK.

Click Next.

Click Next.

Select Domain pass-through and Use a shared Authentication Service (allows both stores to use the exact same authentication settings and a user can authenticate to one store and is automatically authenticated to the second one.) Click Next.

Click Create.

Click Finish.

Select the new store from the list and click Manage Receiver for Web Sites.

Click Configure...

On Authentication Methods tab click Domain pass-through to enable single sign-on for the web browser.

On Deploy Citrix Receiver tab and select Use Receiver for HTML5 if local Receiver is unavailable from the Deployment option drop-down box.

On Client Interface Settings tab select Show Applications view only in the Select View drop-doown box.

On Advanced Settings tab, select OnUsingHttp for Enable loopback communication and click OK.

Click Close.

Click Configure Store Settings.

Select Disable User Subscriptions and click OK.

In Server Group click Propagate Changes to update the second StoreFront server with all the changes made on the first one.

Click Yes.

Click OK.

Changes should have been successfully propagated to both StoreFront servers.


