Citrix XenApp/XenDesktop 7.9 Create a Site
Once the XenApp or XenDesktop Delivery Controller has been installed a site is created containing all the environments configuration. Part of the site creation process is the creation of three databases configuration (site), logging and monitoring. This article will go through the steps of creating a site including the three databases.
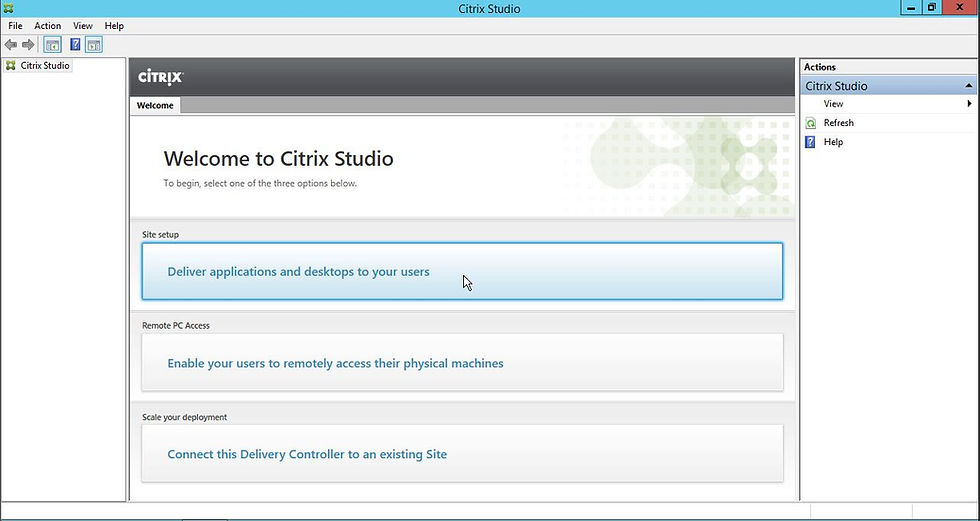
Launch Citrix Studio and click Deliver applications and desktops to your users.
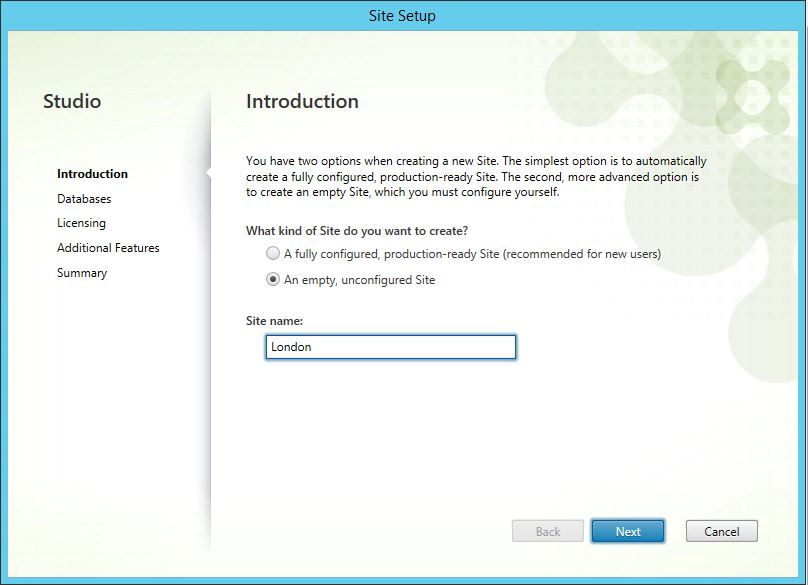
Enter Site name and select An empty, unconfigured Site, so you are not asked for hypervisor connection details, network and storage. Instead these will be configured later. Click Next.
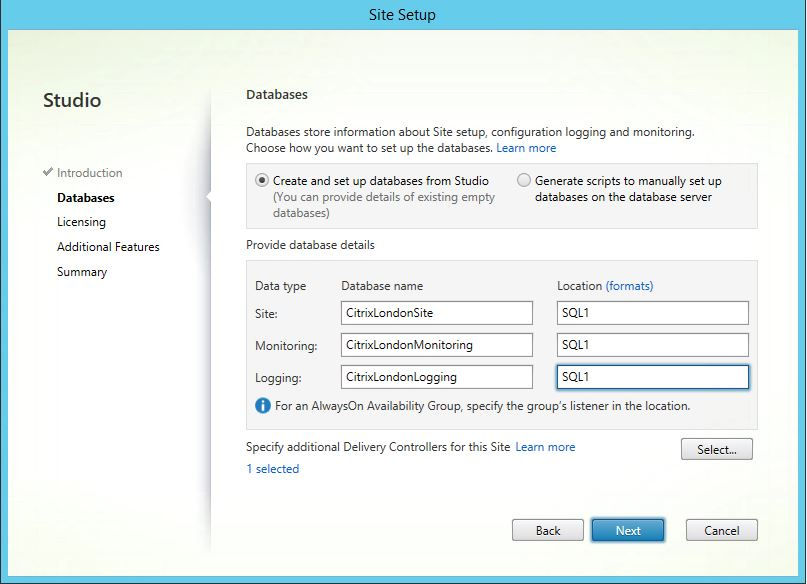
Change the three database names or leave as default. In Location enter the SQL Server and instance for each database. Click on Select... to automatically add additional Delivery Controllers to the site upon creation.

Click Add...
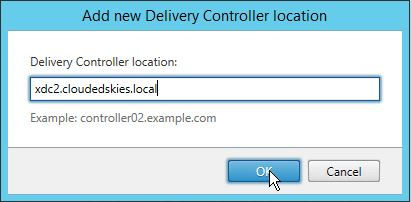
Enter the FQDN of the additional Delivery Controller in Delivery Controller location and click OK.
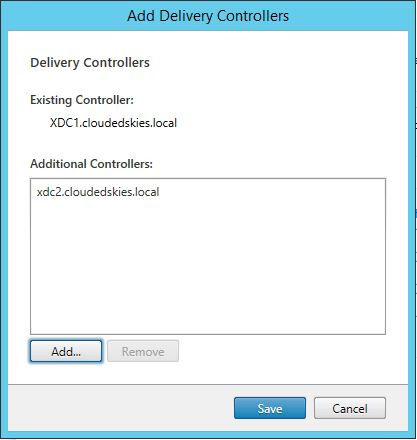
Click Add... to provide more Delivery Controllers and once done click Save. All servers entered must have the XenDesktop 7.9 Delivery Controller component installed before hand.
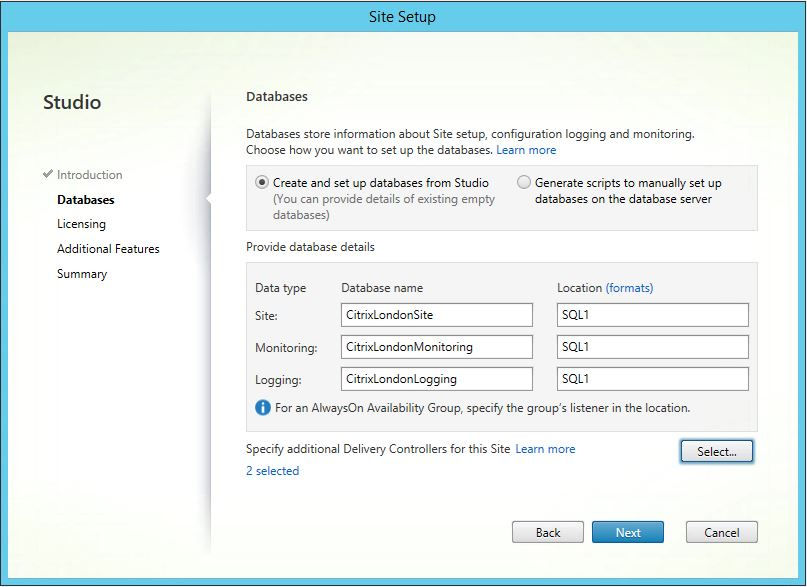
Click Next.
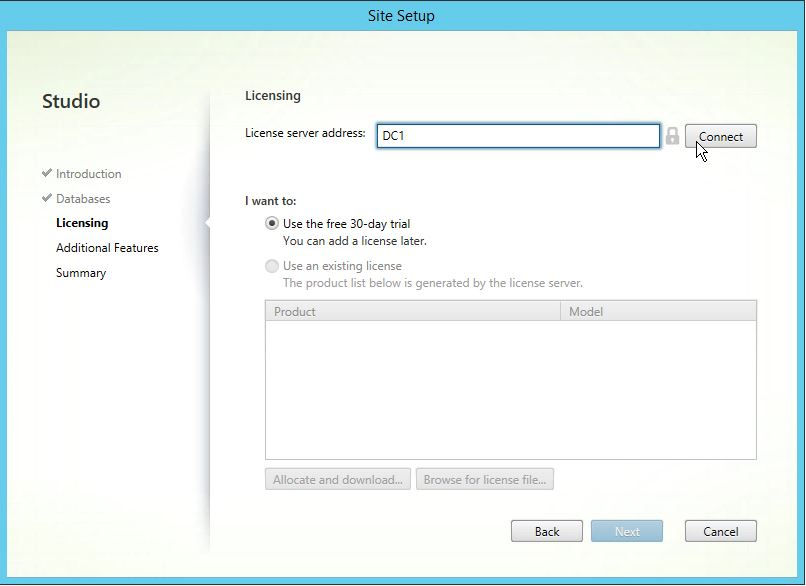
Enter License server address and click Connect.
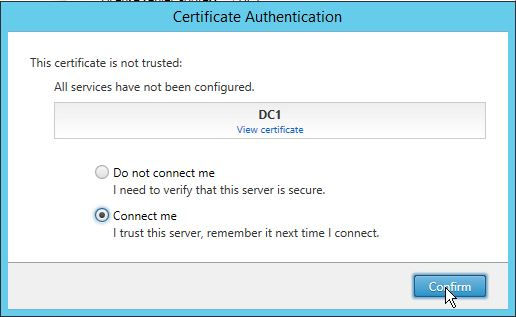
Select Connect me and click Confirm.
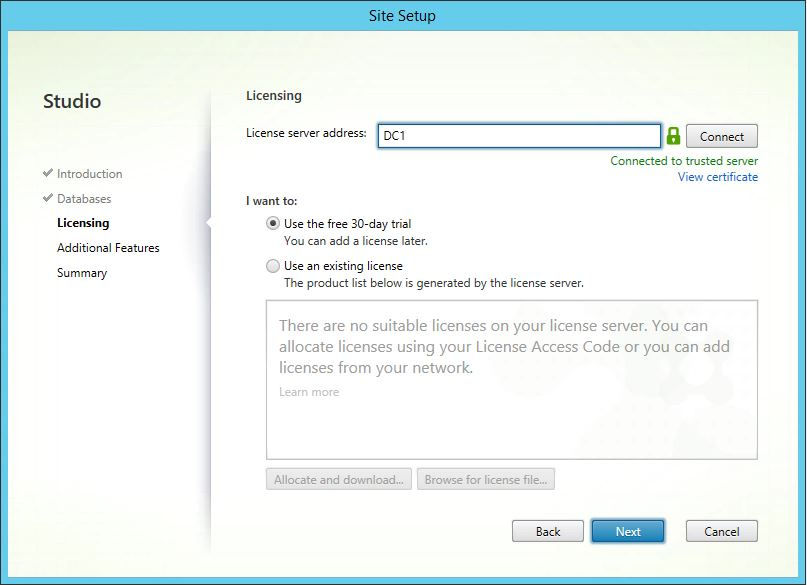
Select Use an existing license, if you have retail licenses available or leave Use the free 30-day trial selected and click Next.
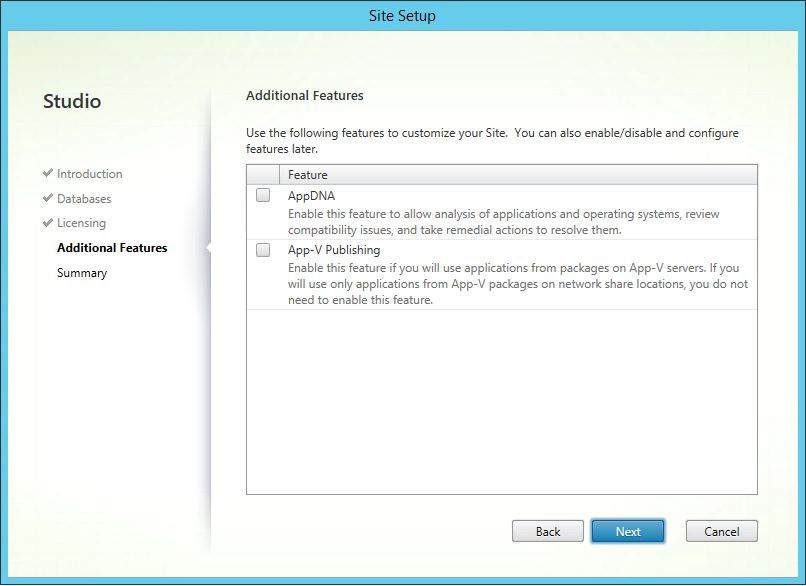
To add AppDNA and App-V functionality select AppDNA and App-V Publishing respectively and click Next.
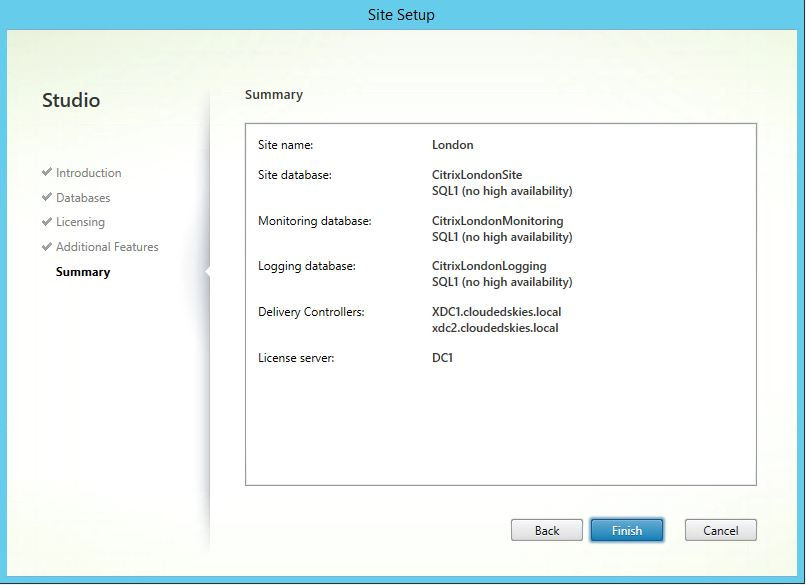
Review the summary and click Finish.

Citrix Studio should populate itself with the site configuration details.
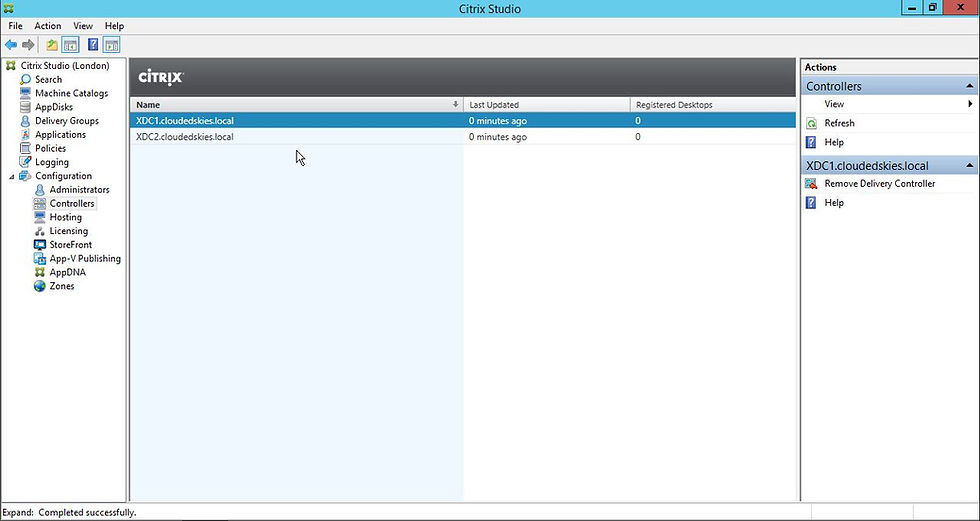
Expand Configuration and click Controllers you should now see all the Delivery Controllers specified during the site creation wizard appear in the list. That's it the site has now been configured.


